DOCUMENTATION
Get started with Medusa
Your control center for AI-powered development. Review Claude's plans before they execute, or run autonomous agents on isolated branches. This guide covers both workflows.
Installation
Medusa is a desktop application currently available for macOS. Windows and Linux support is coming soon.
System Requirements
- • macOS 11+ (Apple Silicon & Intel)
- • Windows and Linux coming soon
- • Claude Code CLI installed and configured
macOS: Allow app to run
Medusa is not code-signed yet. After installing, macOS may show a "damaged" or "unidentified developer" warning. To fix this, run the following command in Terminal:
Alternatively, right-click the app and select "Open" to bypass the warning.
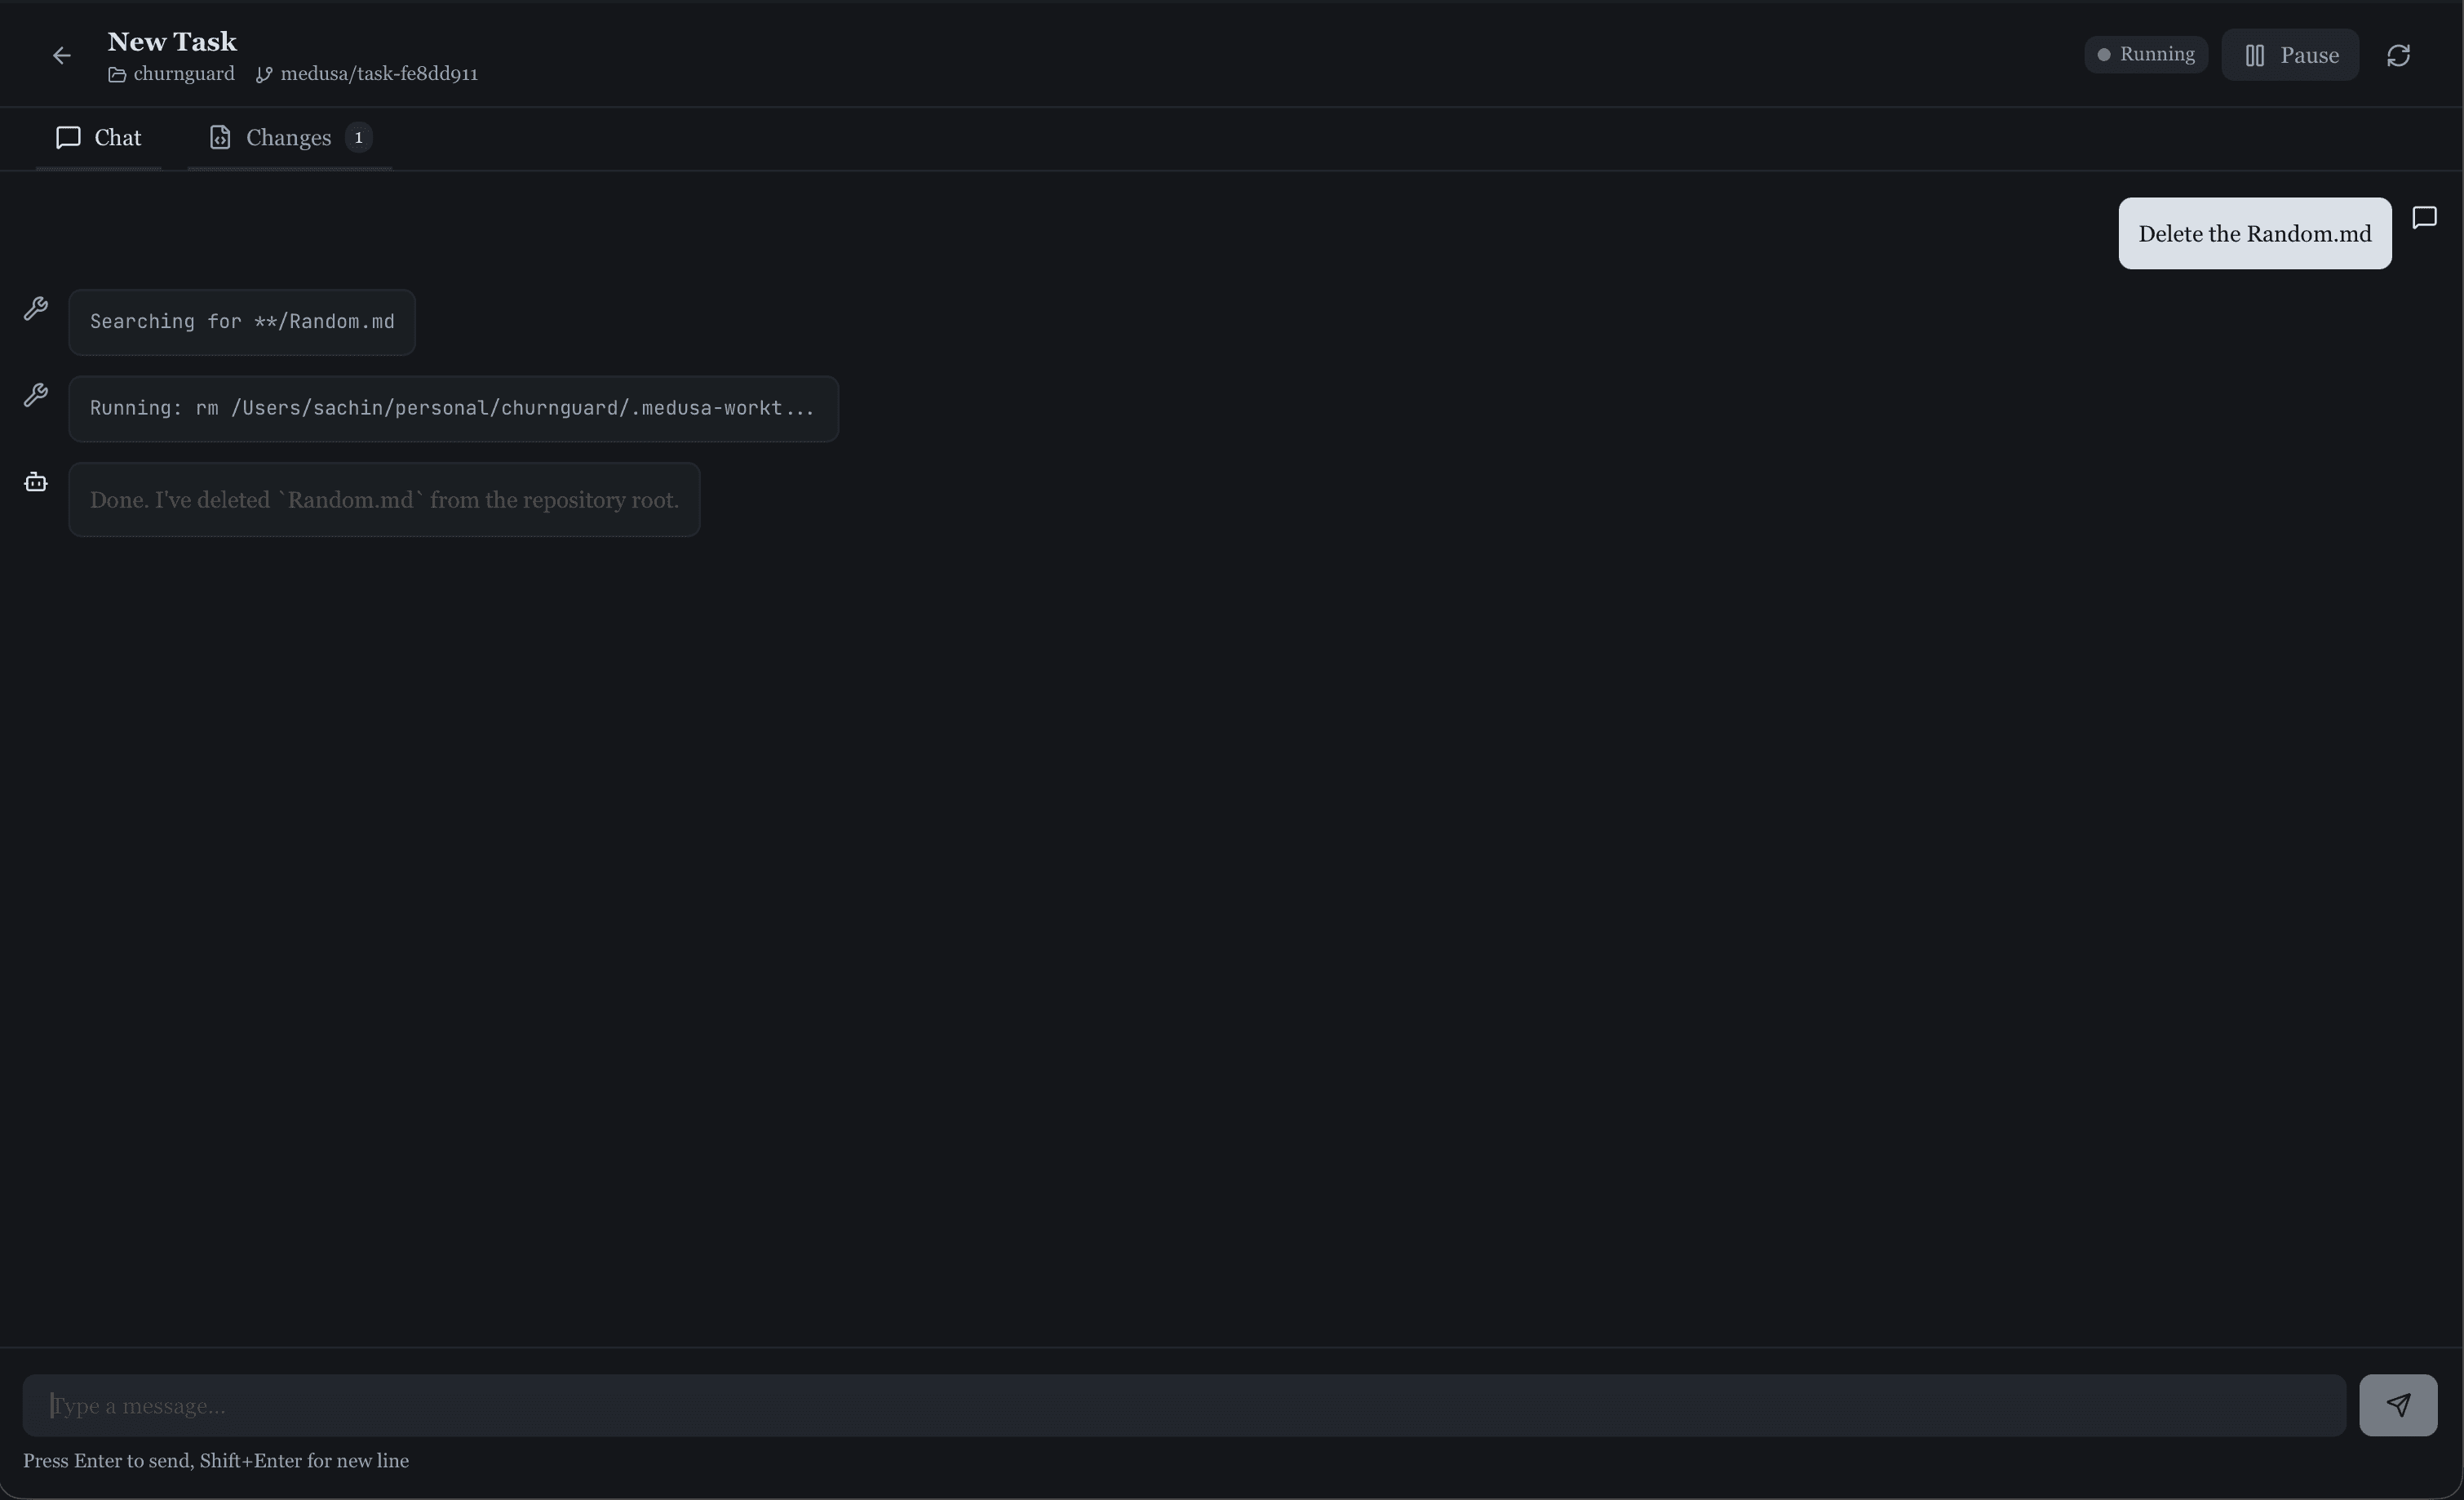
Using Tasks (Quick Start)
Tasks let you run Claude Code agents autonomously on isolated git branches. No hook setup required—just create a task and start the agent.
No setup needed
Unlike Plans which require hook configuration, Tasks work out of the box. Just open Medusa and create your first task.
Creating a task
Click New Task
From the main board, click the "New Task" button in the top right.
Enter details
Give your task a title (what you want done), an optional description, and select your project folder.
Start the agent
Click the play button on the task card. Medusa creates an isolated git branch and starts Claude Code.
How it works
When you start an agent, Medusa:
- Creates a git worktree (isolated branch) in your project
- Spawns a Claude Code instance in that worktree
- Streams output so you can monitor progress
- Keeps the branch isolated from your main code
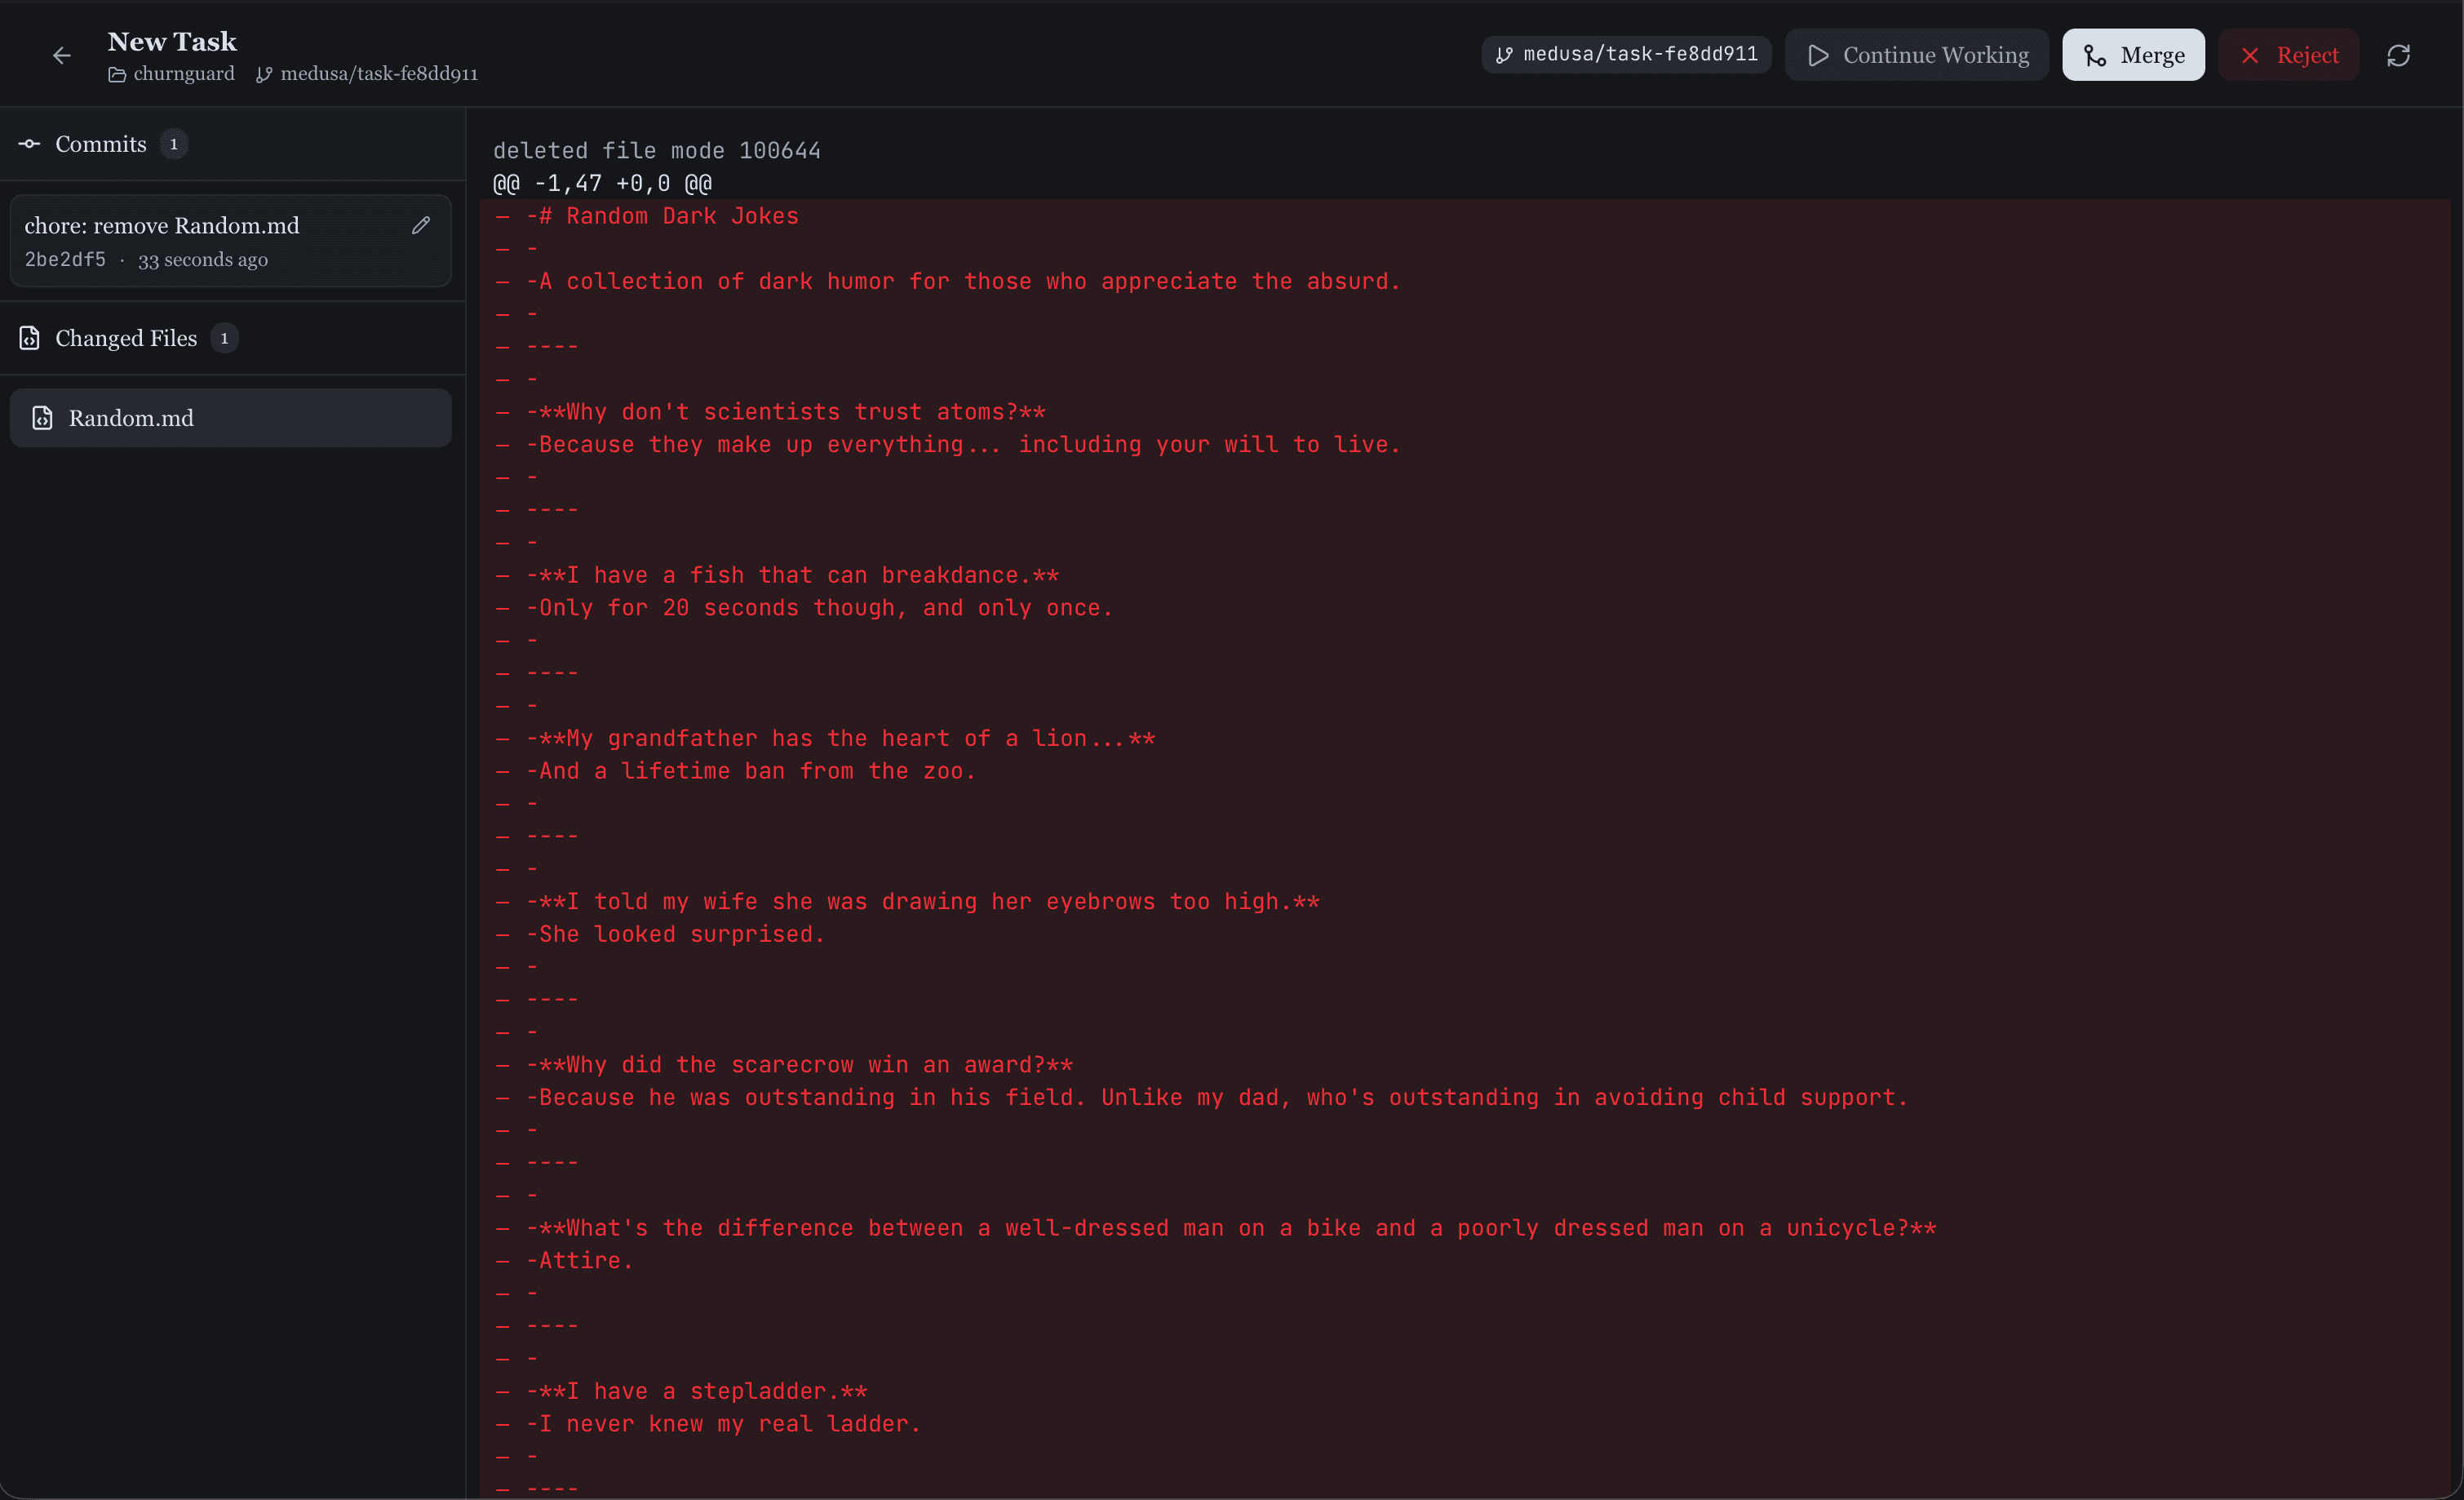
Reviewing and merging
When the agent finishes (or you pause it), click "Send to Review". Claude Code will commit the changes with a descriptive message, and you can:
Review diffs
See exactly what files changed, line by line.
Edit commits
Update the commit message if needed.
Merge
One click to merge the branch into main.
Discard
Delete the task and worktree if you don't want the changes.
Running multiple agents
You can run multiple tasks in parallel. Each gets its own git worktree, so they won't conflict with each other. Great for working on multiple features simultaneously.
Setting up Plans (Auto-Configured)
Medusa automatically configures the Claude Code hook on first launch. Just open Medusa and you're ready to go.
Automatic setup
When you launch Medusa, it automatically installs the hook script and configures your Claude Code settings. No manual setup required for most users.
How it works
Open Medusa
Launch the app. It automatically checks and configures the hook system.
Start Claude Code
Enter plan mode in Claude Code as usual.
Review in Medusa
Plans automatically appear in Medusa for your review.
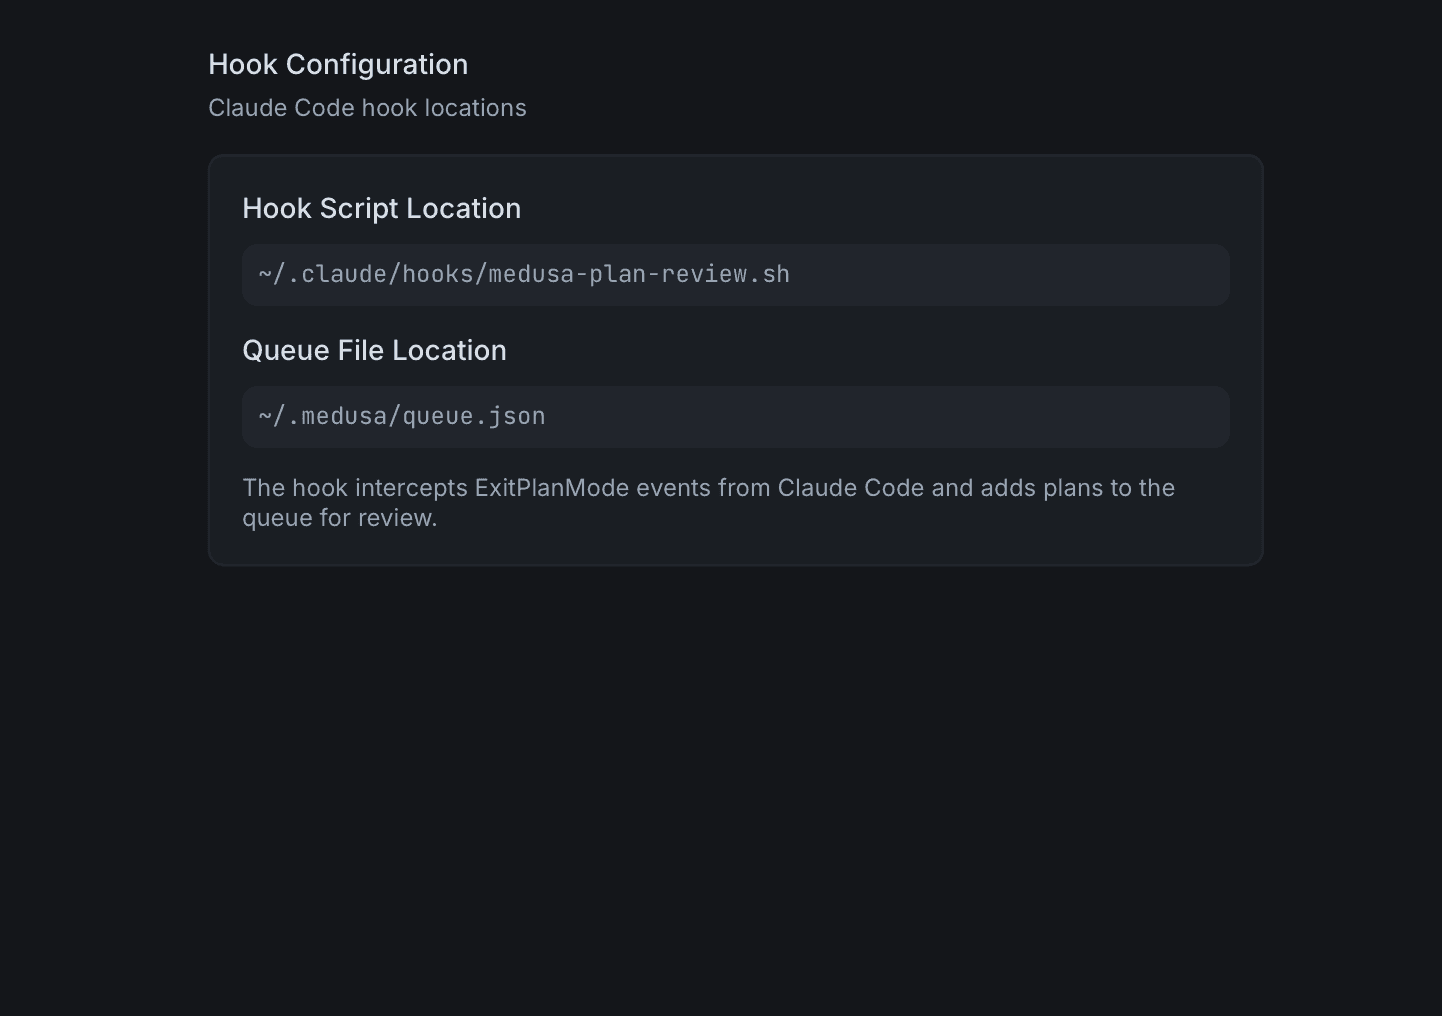
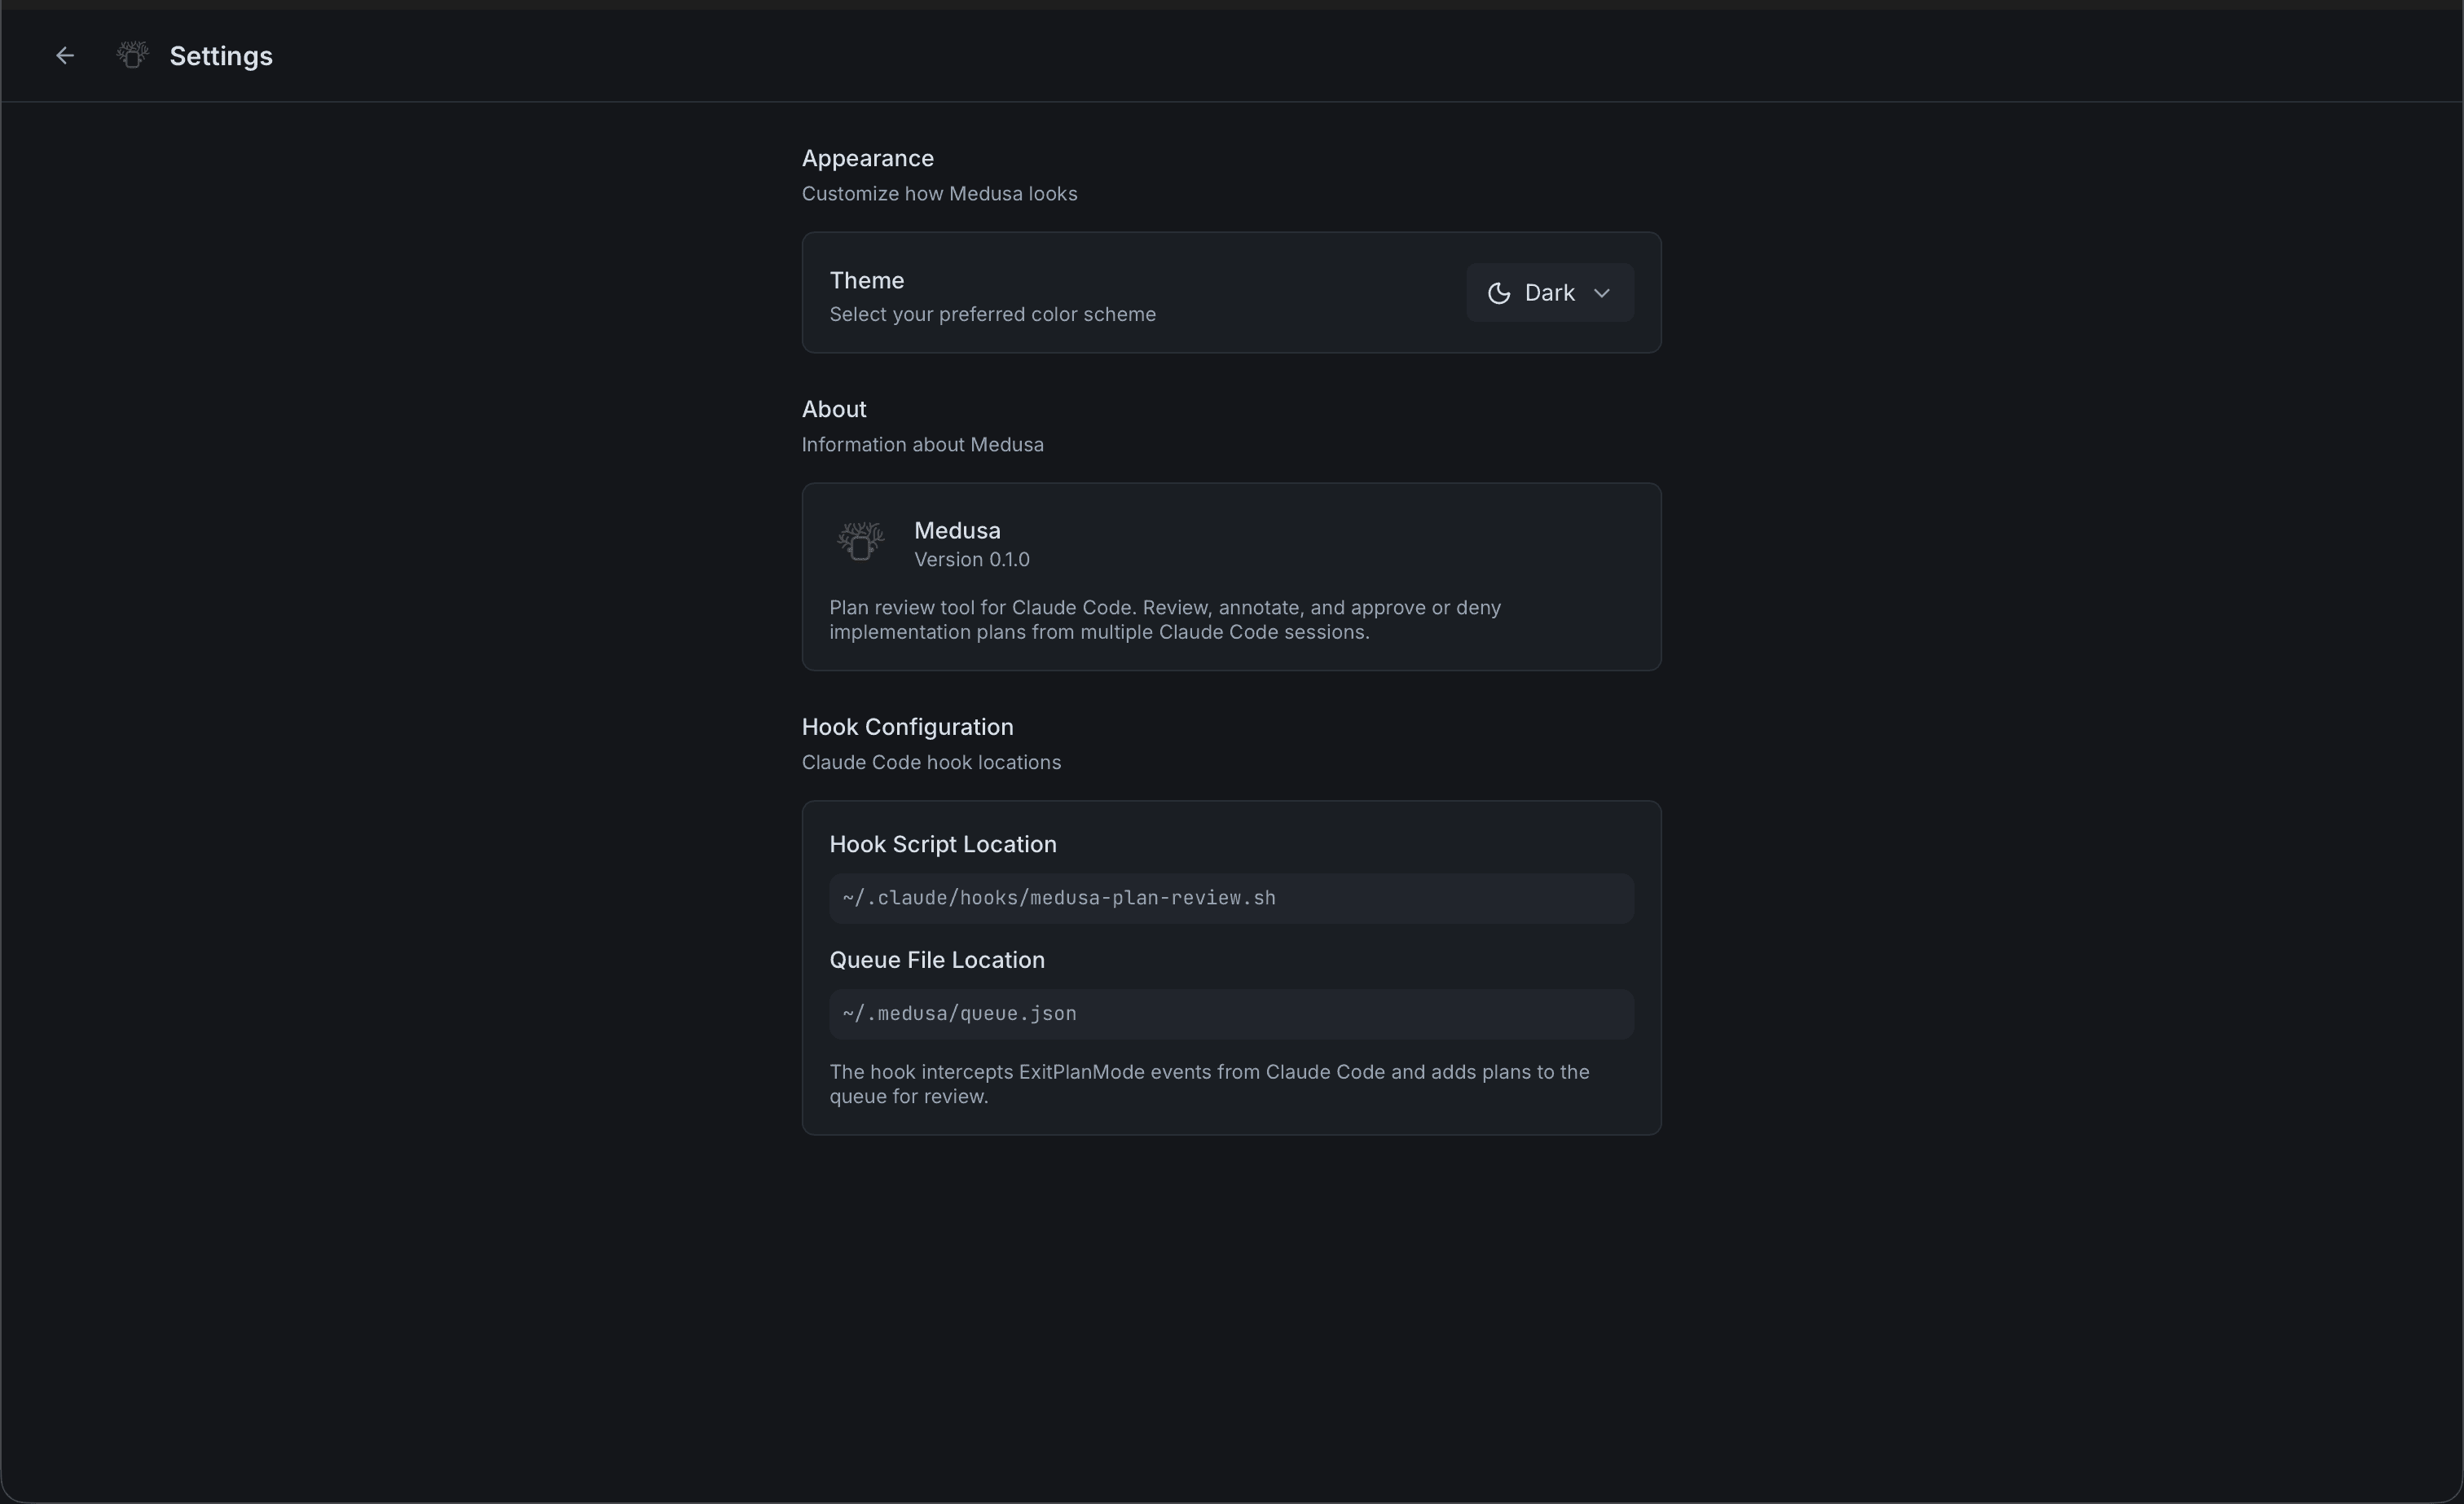
Verify setup status
Open Medusa and navigate to Settings. The Hook Configuration section shows the status of each component.
Important: Timeout setting
The hook uses a timeout of 86400 seconds (24 hours). If this timeout is reached before you approve or reject, Claude Code will automatically proceed without your approval.
Manual Setup (if auto-setup fails)
If you see a setup warning banner in Medusa, you can configure the hook manually:
Step 1: Download the hook script
curl -o ~/.claude/hooks/medusa-plan-review.sh \
  https://raw.githubusercontent.com/benodiwal/medusa/main/hooks/medusa-plan-review.sh
chmod +x ~/.claude/hooks/medusa-plan-review.sh
Step 2: Add to Claude settings
Add the following to ~/.claude/settings.json:
{
  "hooks": {
    "PreToolUse": [
      {
        "matcher": "ExitPlanMode",
        "hooks": [
          {
            "type": "command",
            "command": "~/.claude/hooks/medusa-plan-review.sh",
            "timeout": 86400
          }
        ]
      }
    ]
  }
}
Step 3: Retry in Medusa
Click "Retry Setup" in the warning banner, or go to Settings → Hook Configuration and click "Reinstall hook configuration".
Your first plan review
Once the hook is configured, Medusa will automatically intercept Claude Code plans. Here's what happens:
Claude writes a plan
When you ask Claude Code to make changes, it enters plan mode and outlines what it's going to do.
Medusa intercepts
Before Claude can execute, the hook sends the plan to Medusa. You'll see a notification and the plan appears in your queue.
Review and decide
Open the plan, read through it, add annotations if needed, then approve or request changes.

Approving or requesting changes
After reviewing the plan, you have two options:
Approve
The plan looks good. Claude Code will proceed with execution.
Request Changes
Send your annotations back to Claude. It will revise the plan based on your feedback.
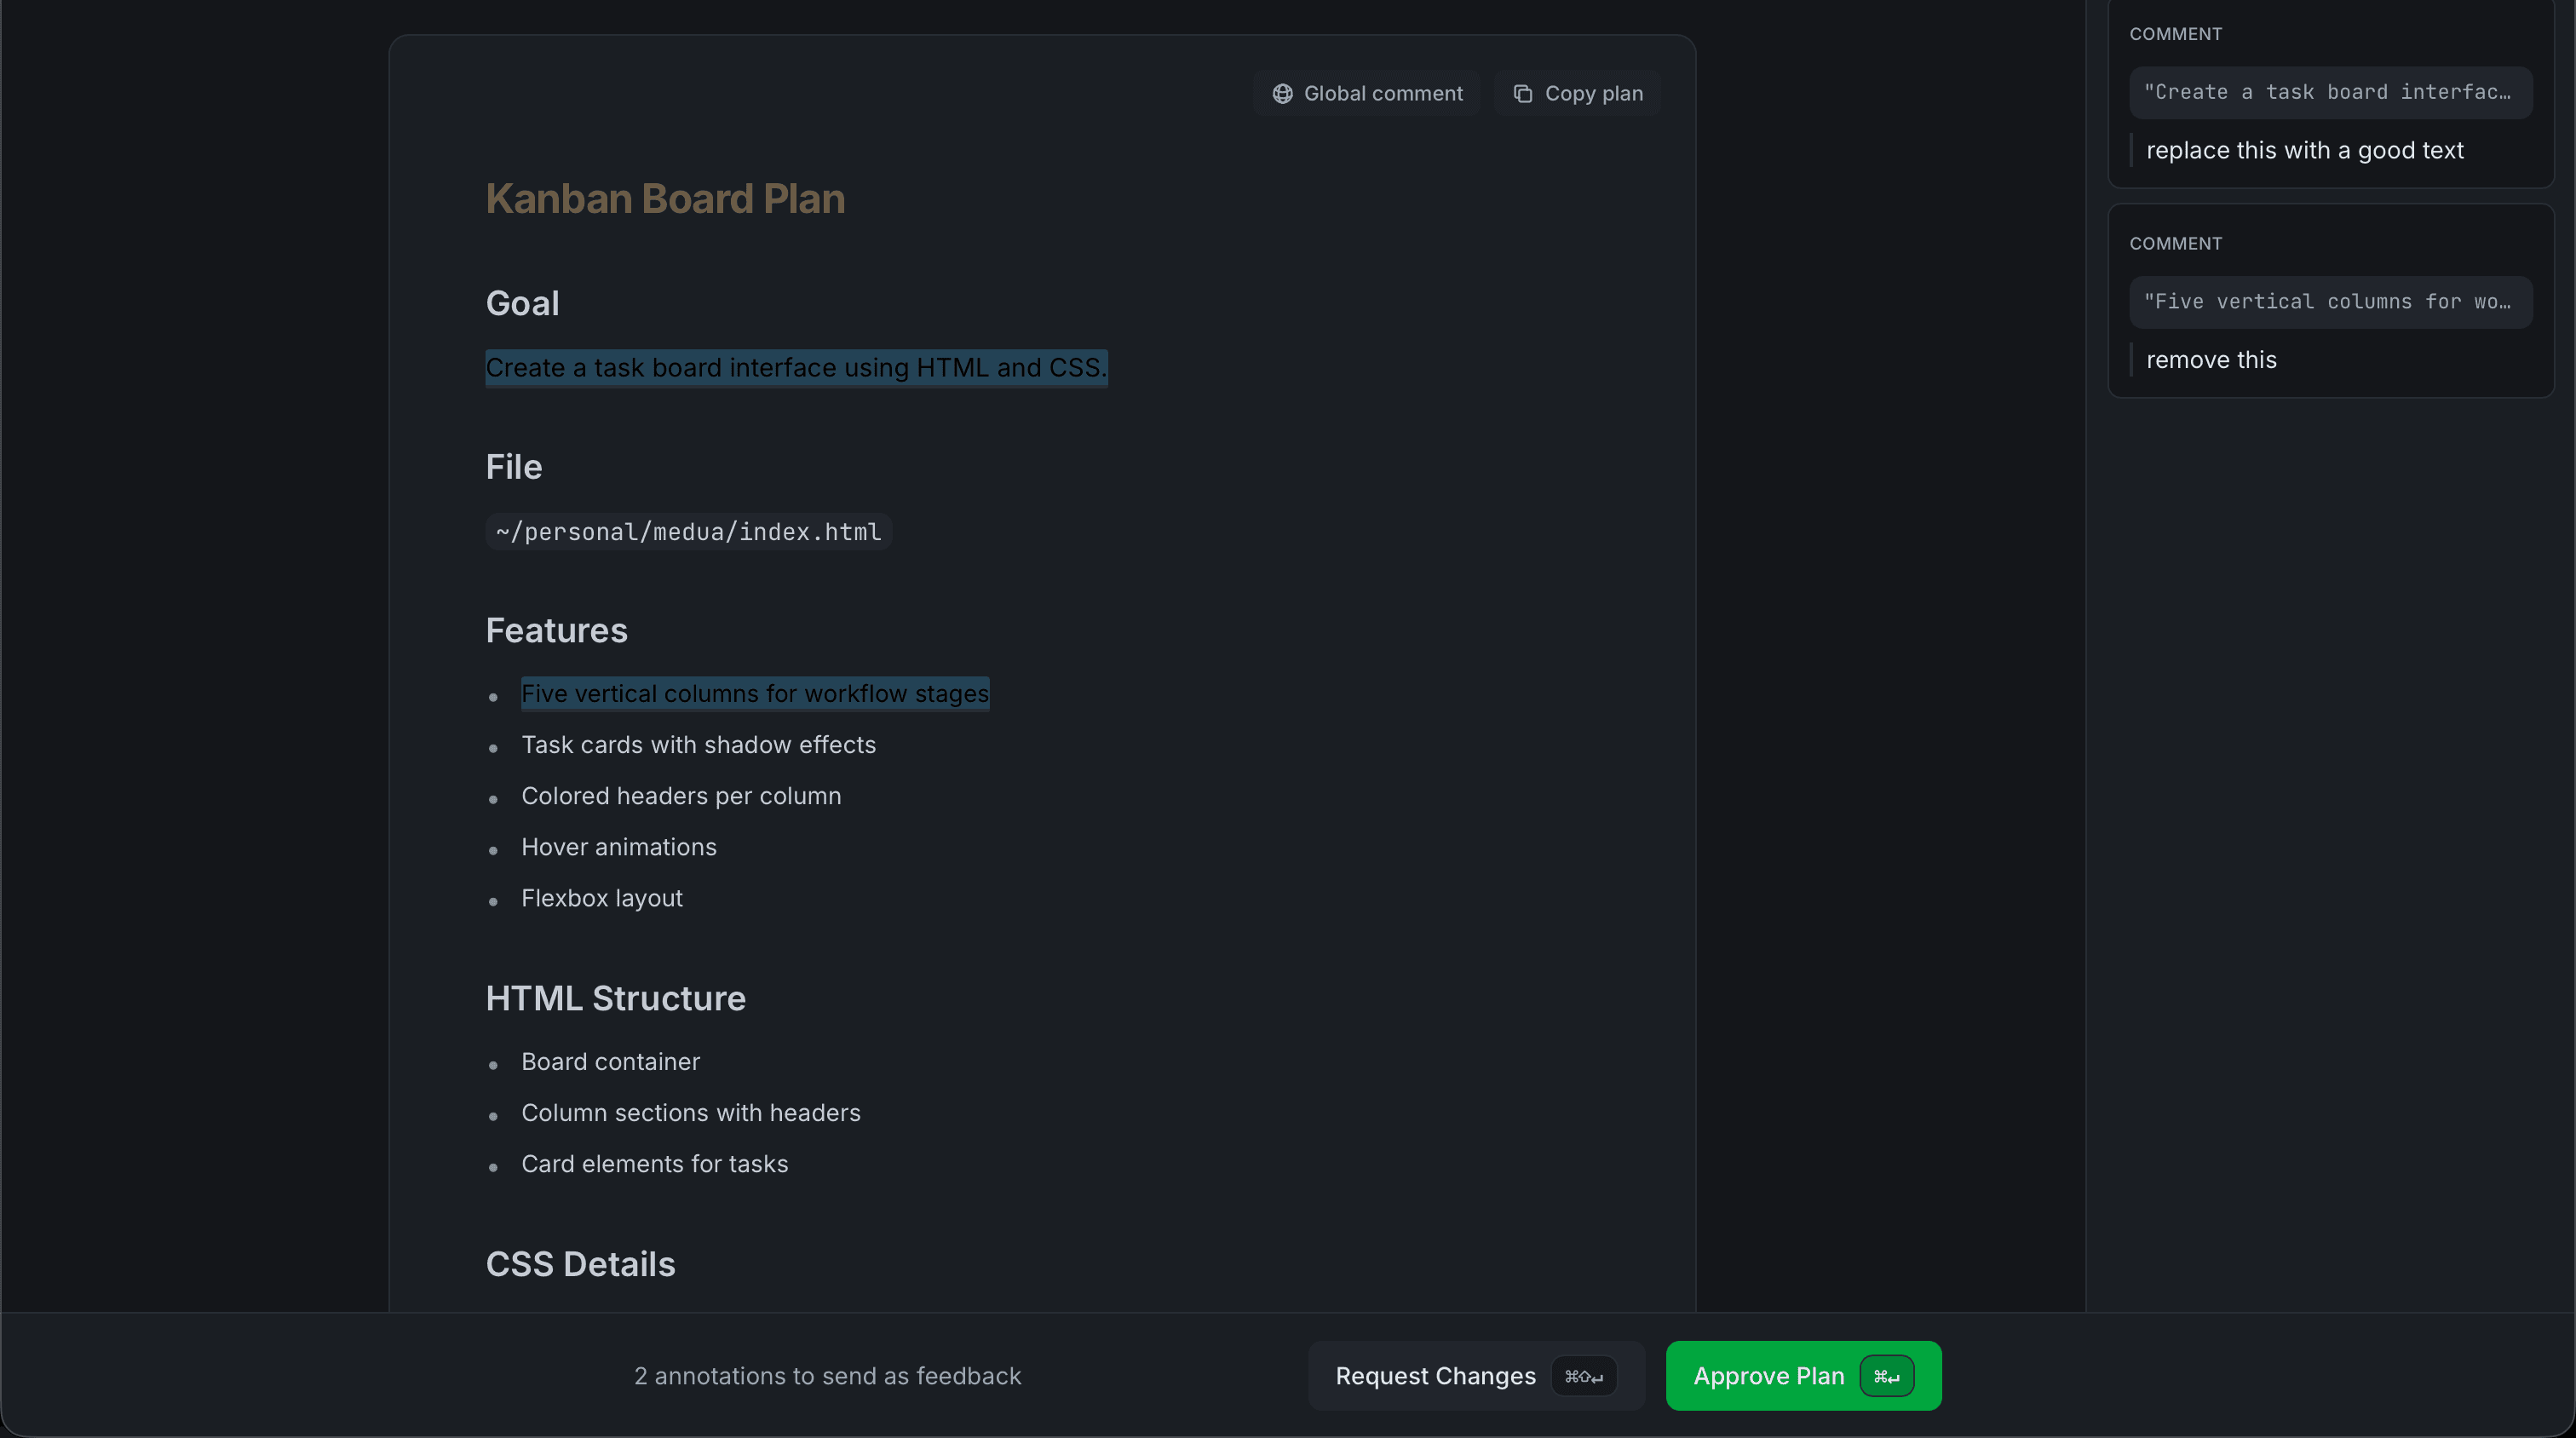
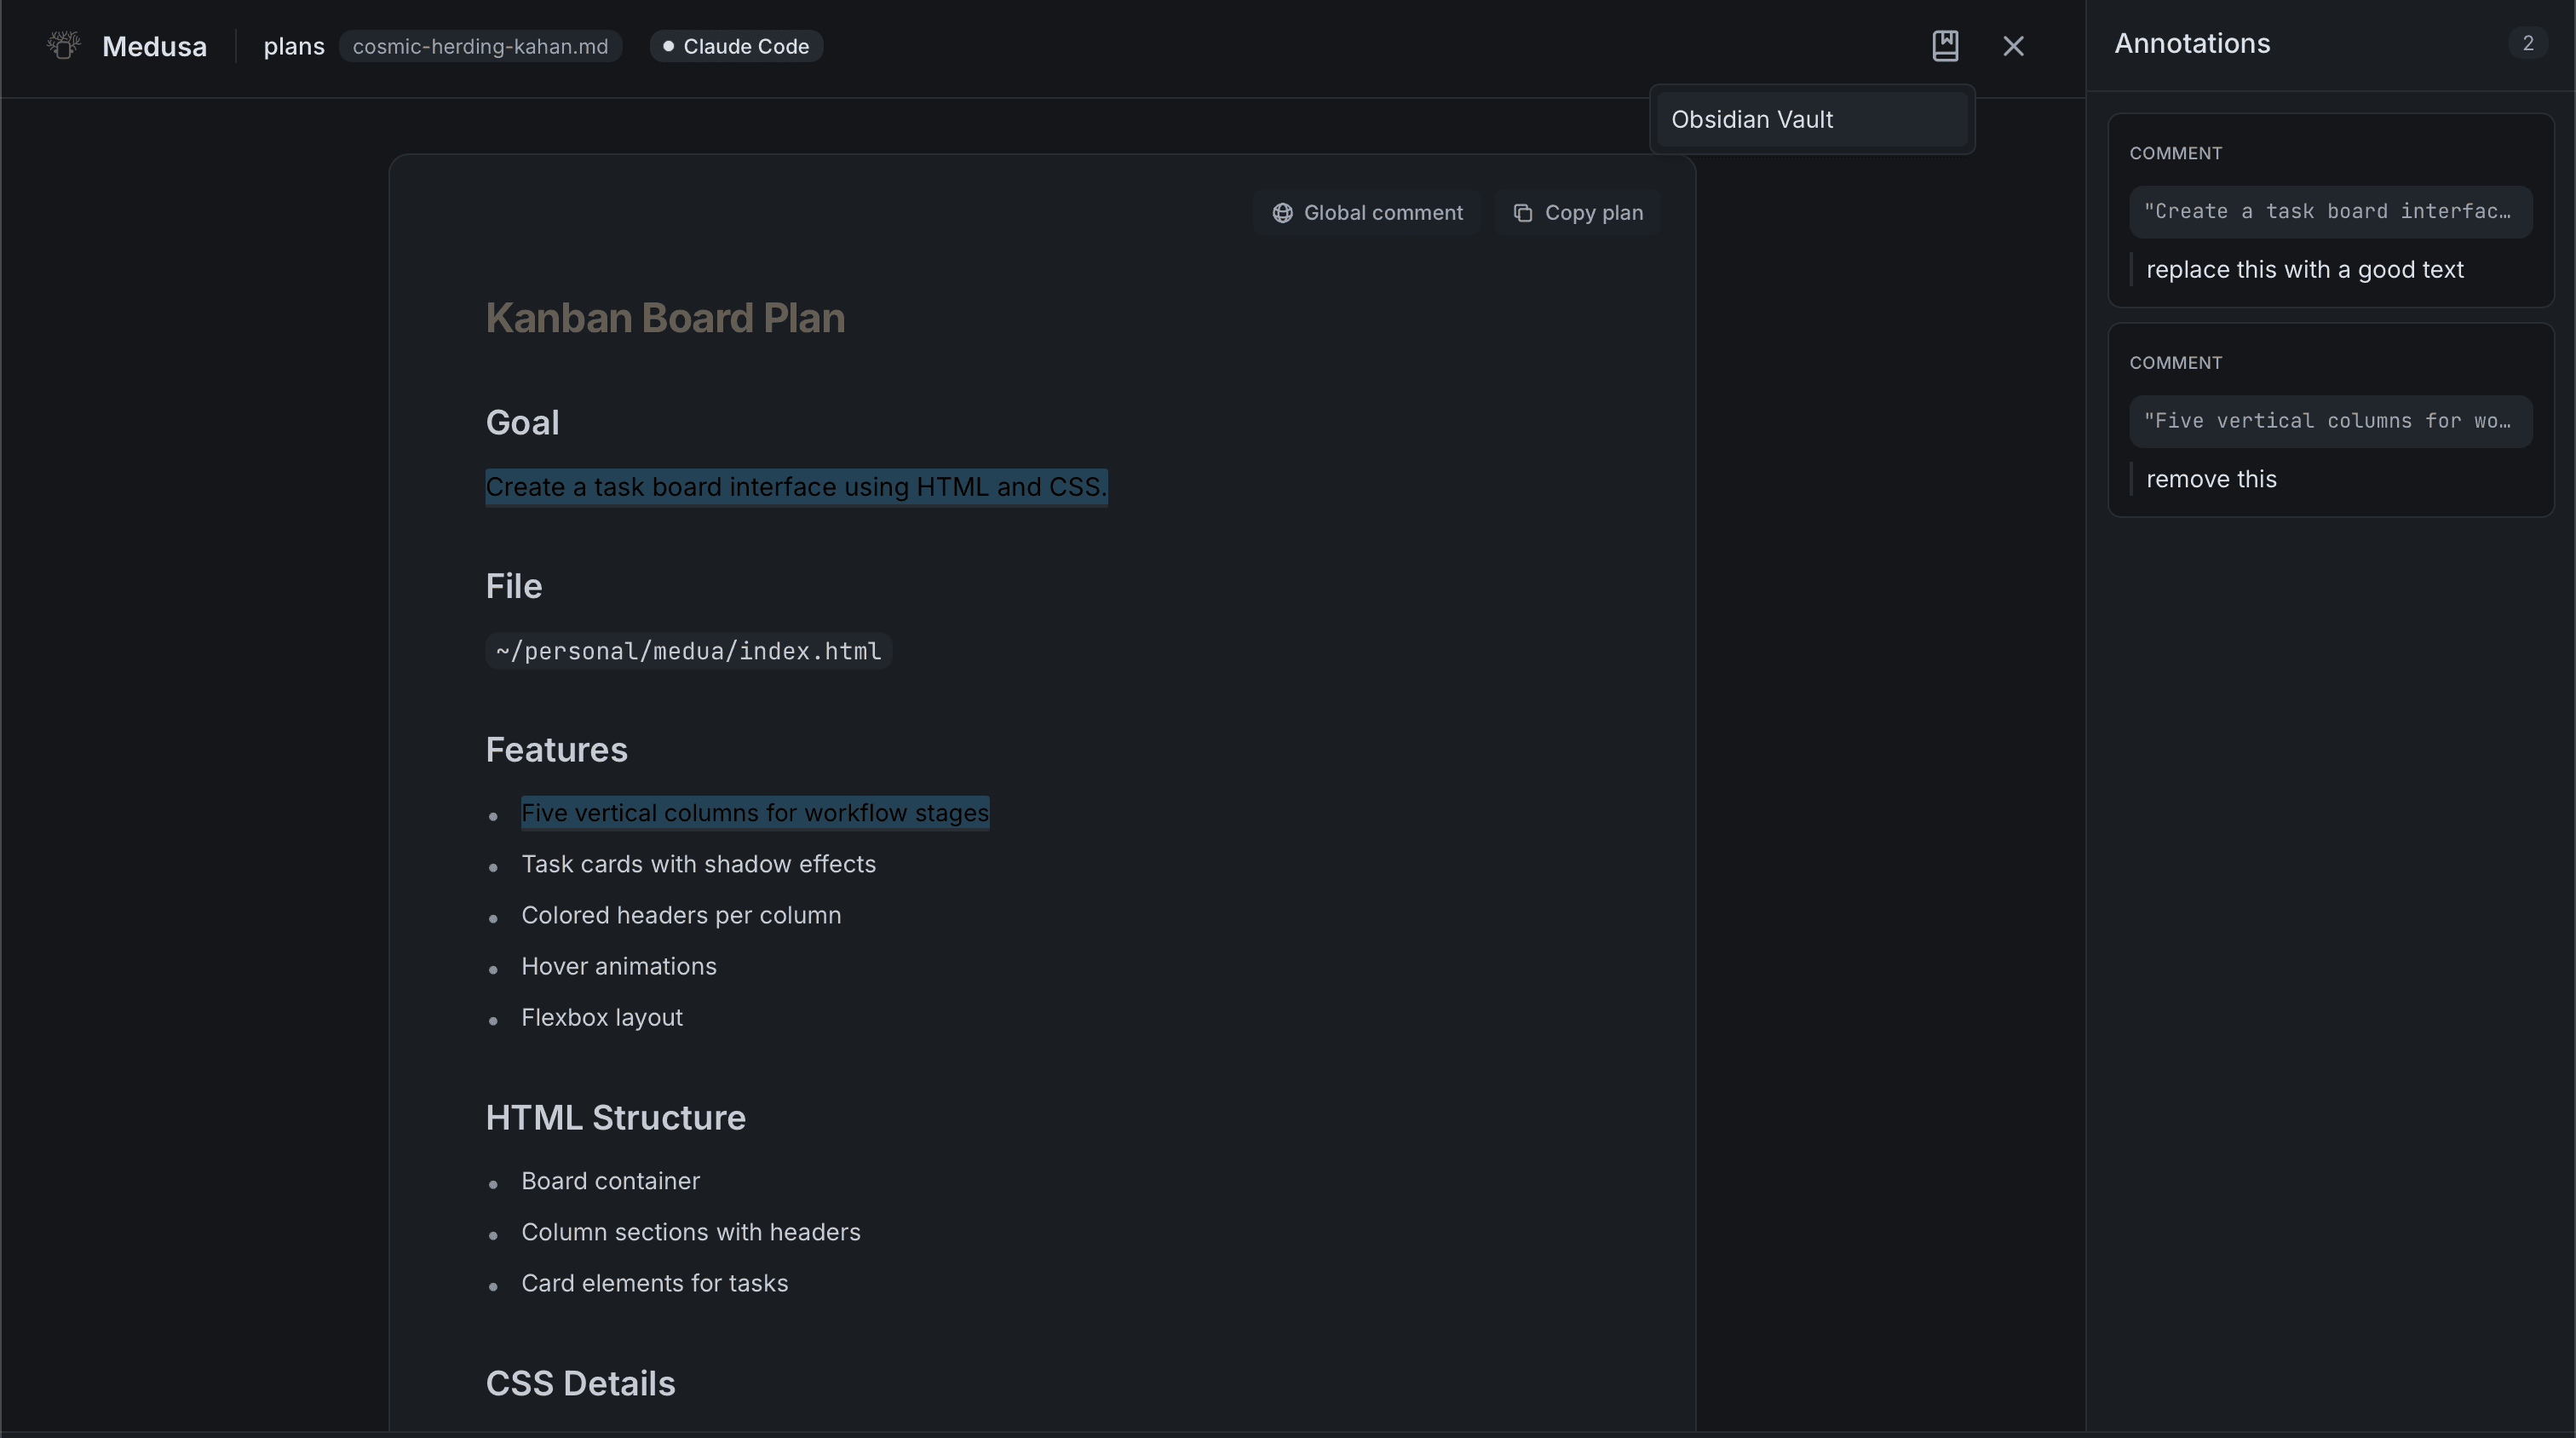
Using annotations
Annotations let you give Claude precise feedback on specific parts of a plan. Select any text and choose an annotation type from the toolbar.
Comment
Add a note or question about the selected text. Use this to ask for clarification or suggest alternatives.
Delete
Mark text that should be removed from the plan. Claude will understand this section isn't wanted.
Insert
Suggest new content to be added at a specific location in the plan.
Replace
Propose alternative text to replace the selected content.
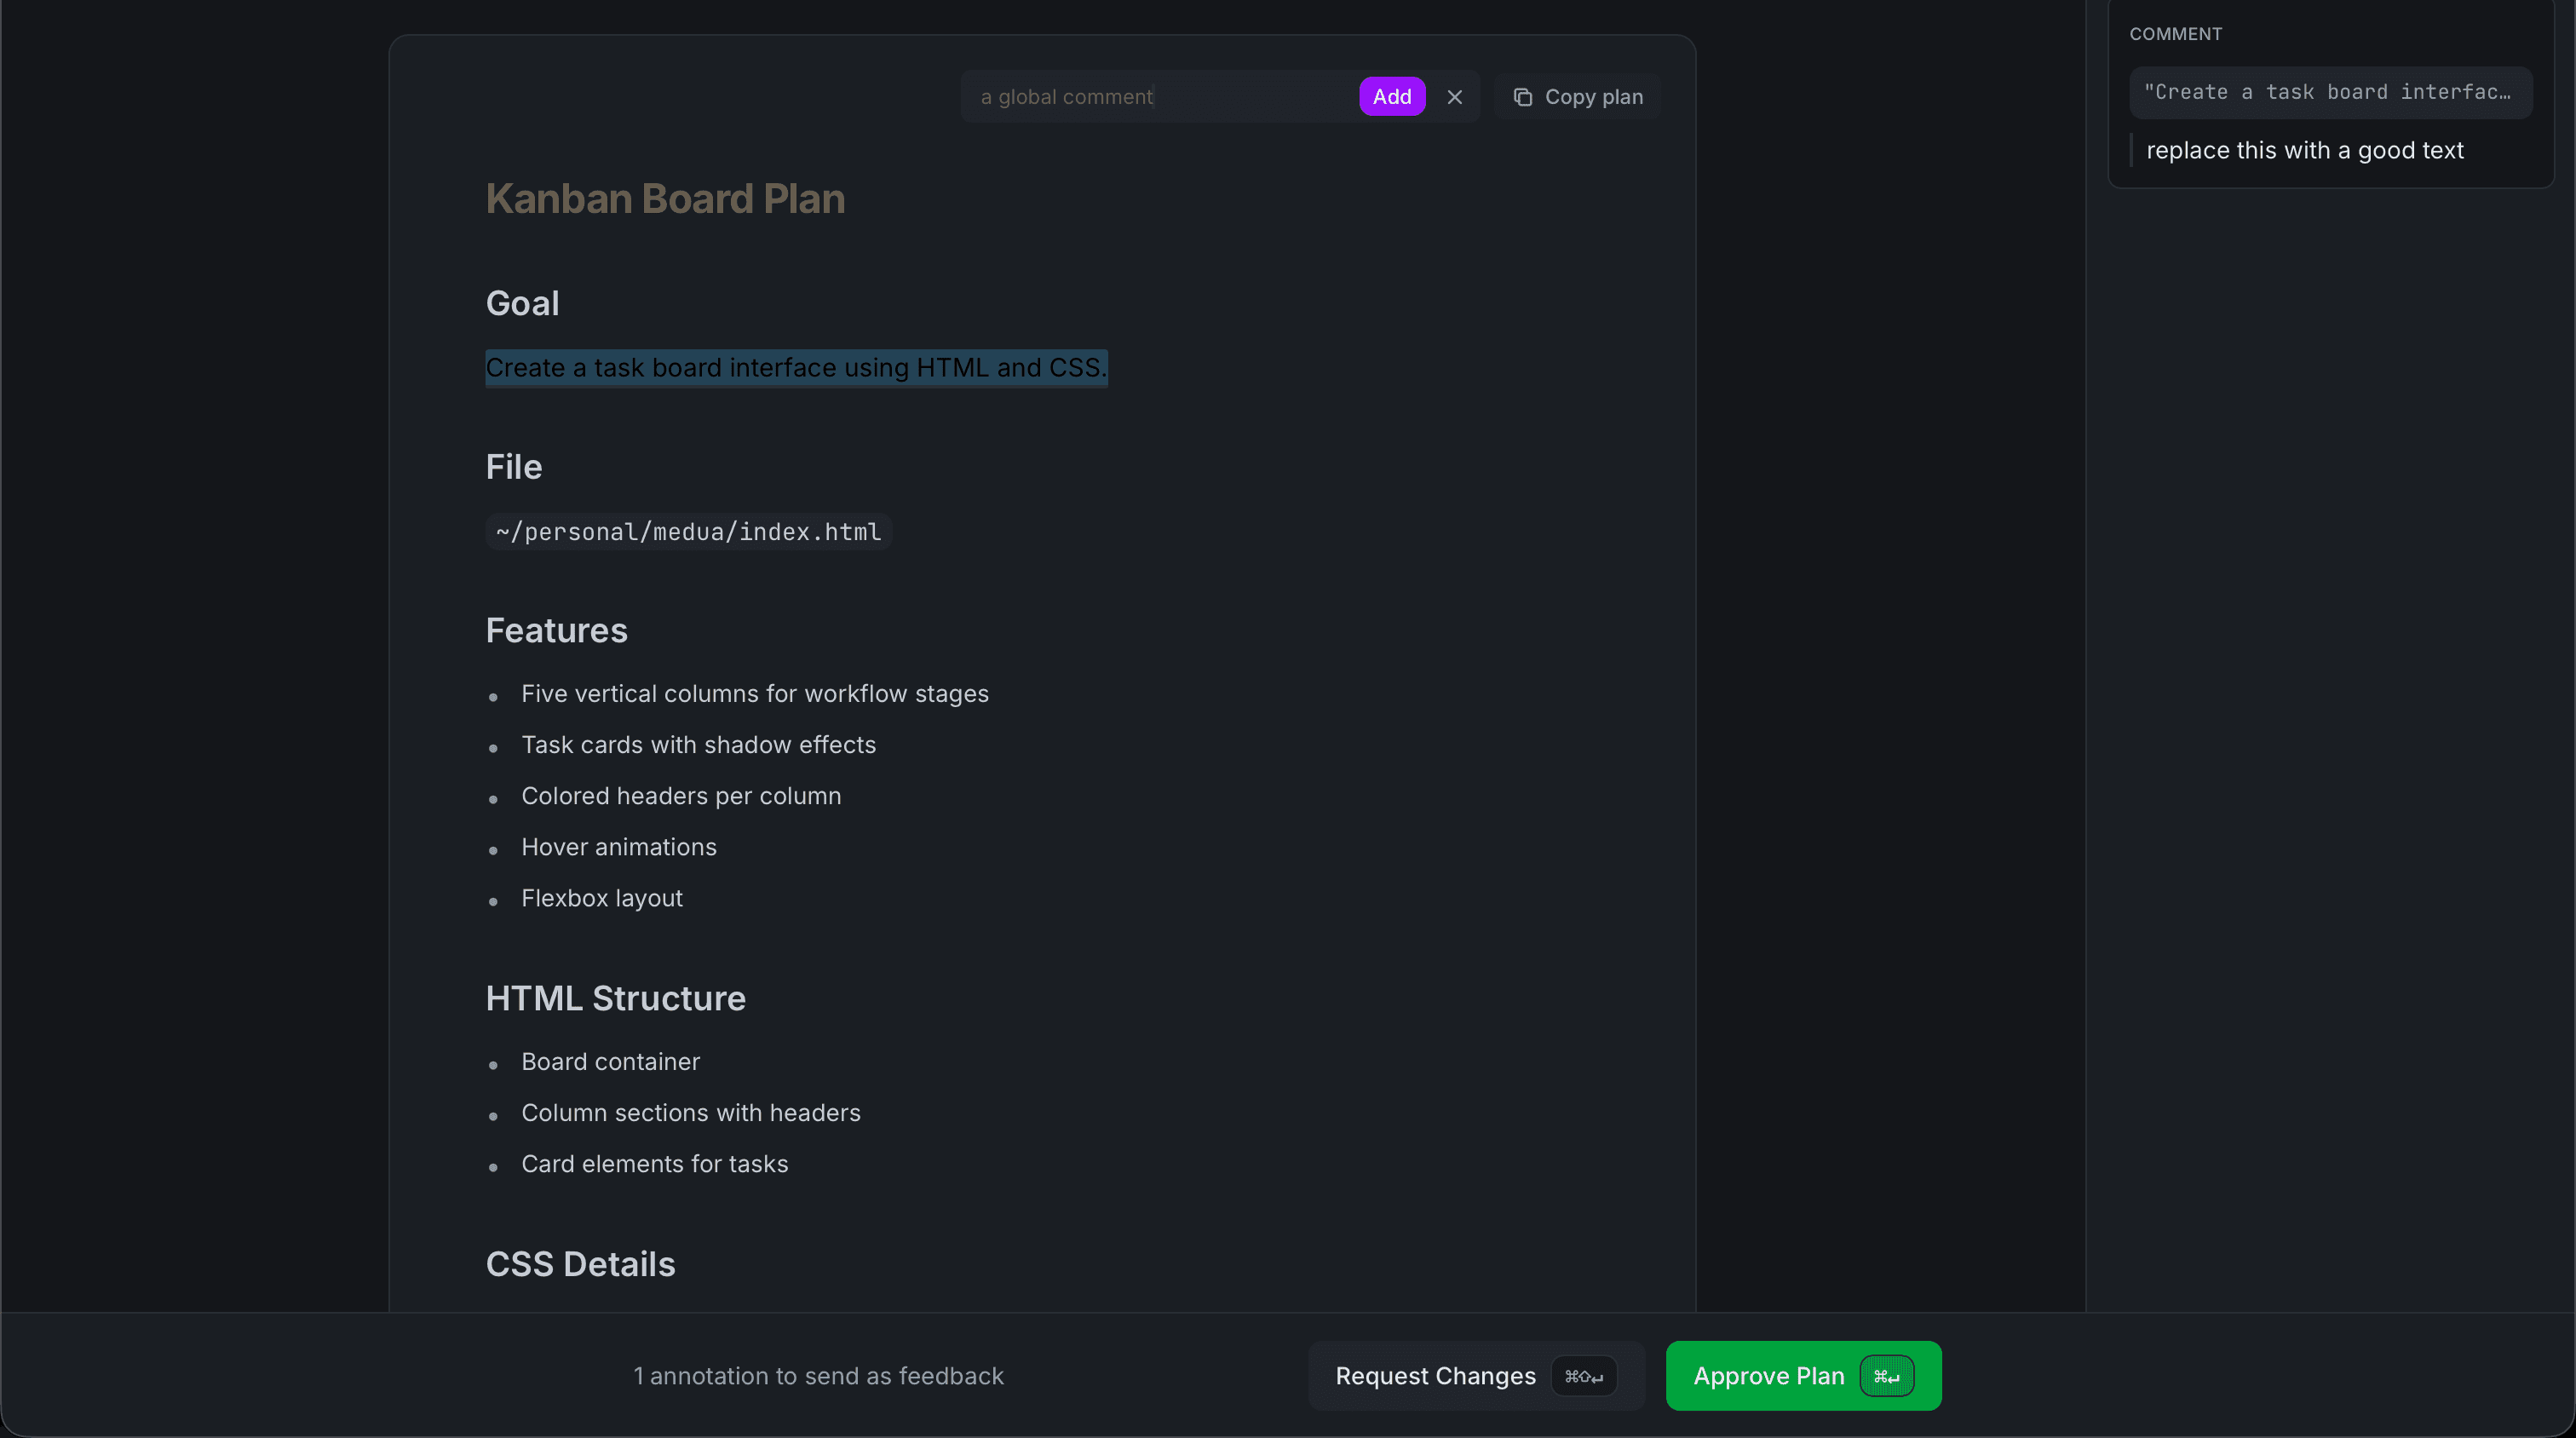
Global comments
Use global comments for feedback that applies to the entire plan rather than specific text. This is useful for high-level direction like "focus on performance" or "keep the existing API structure".
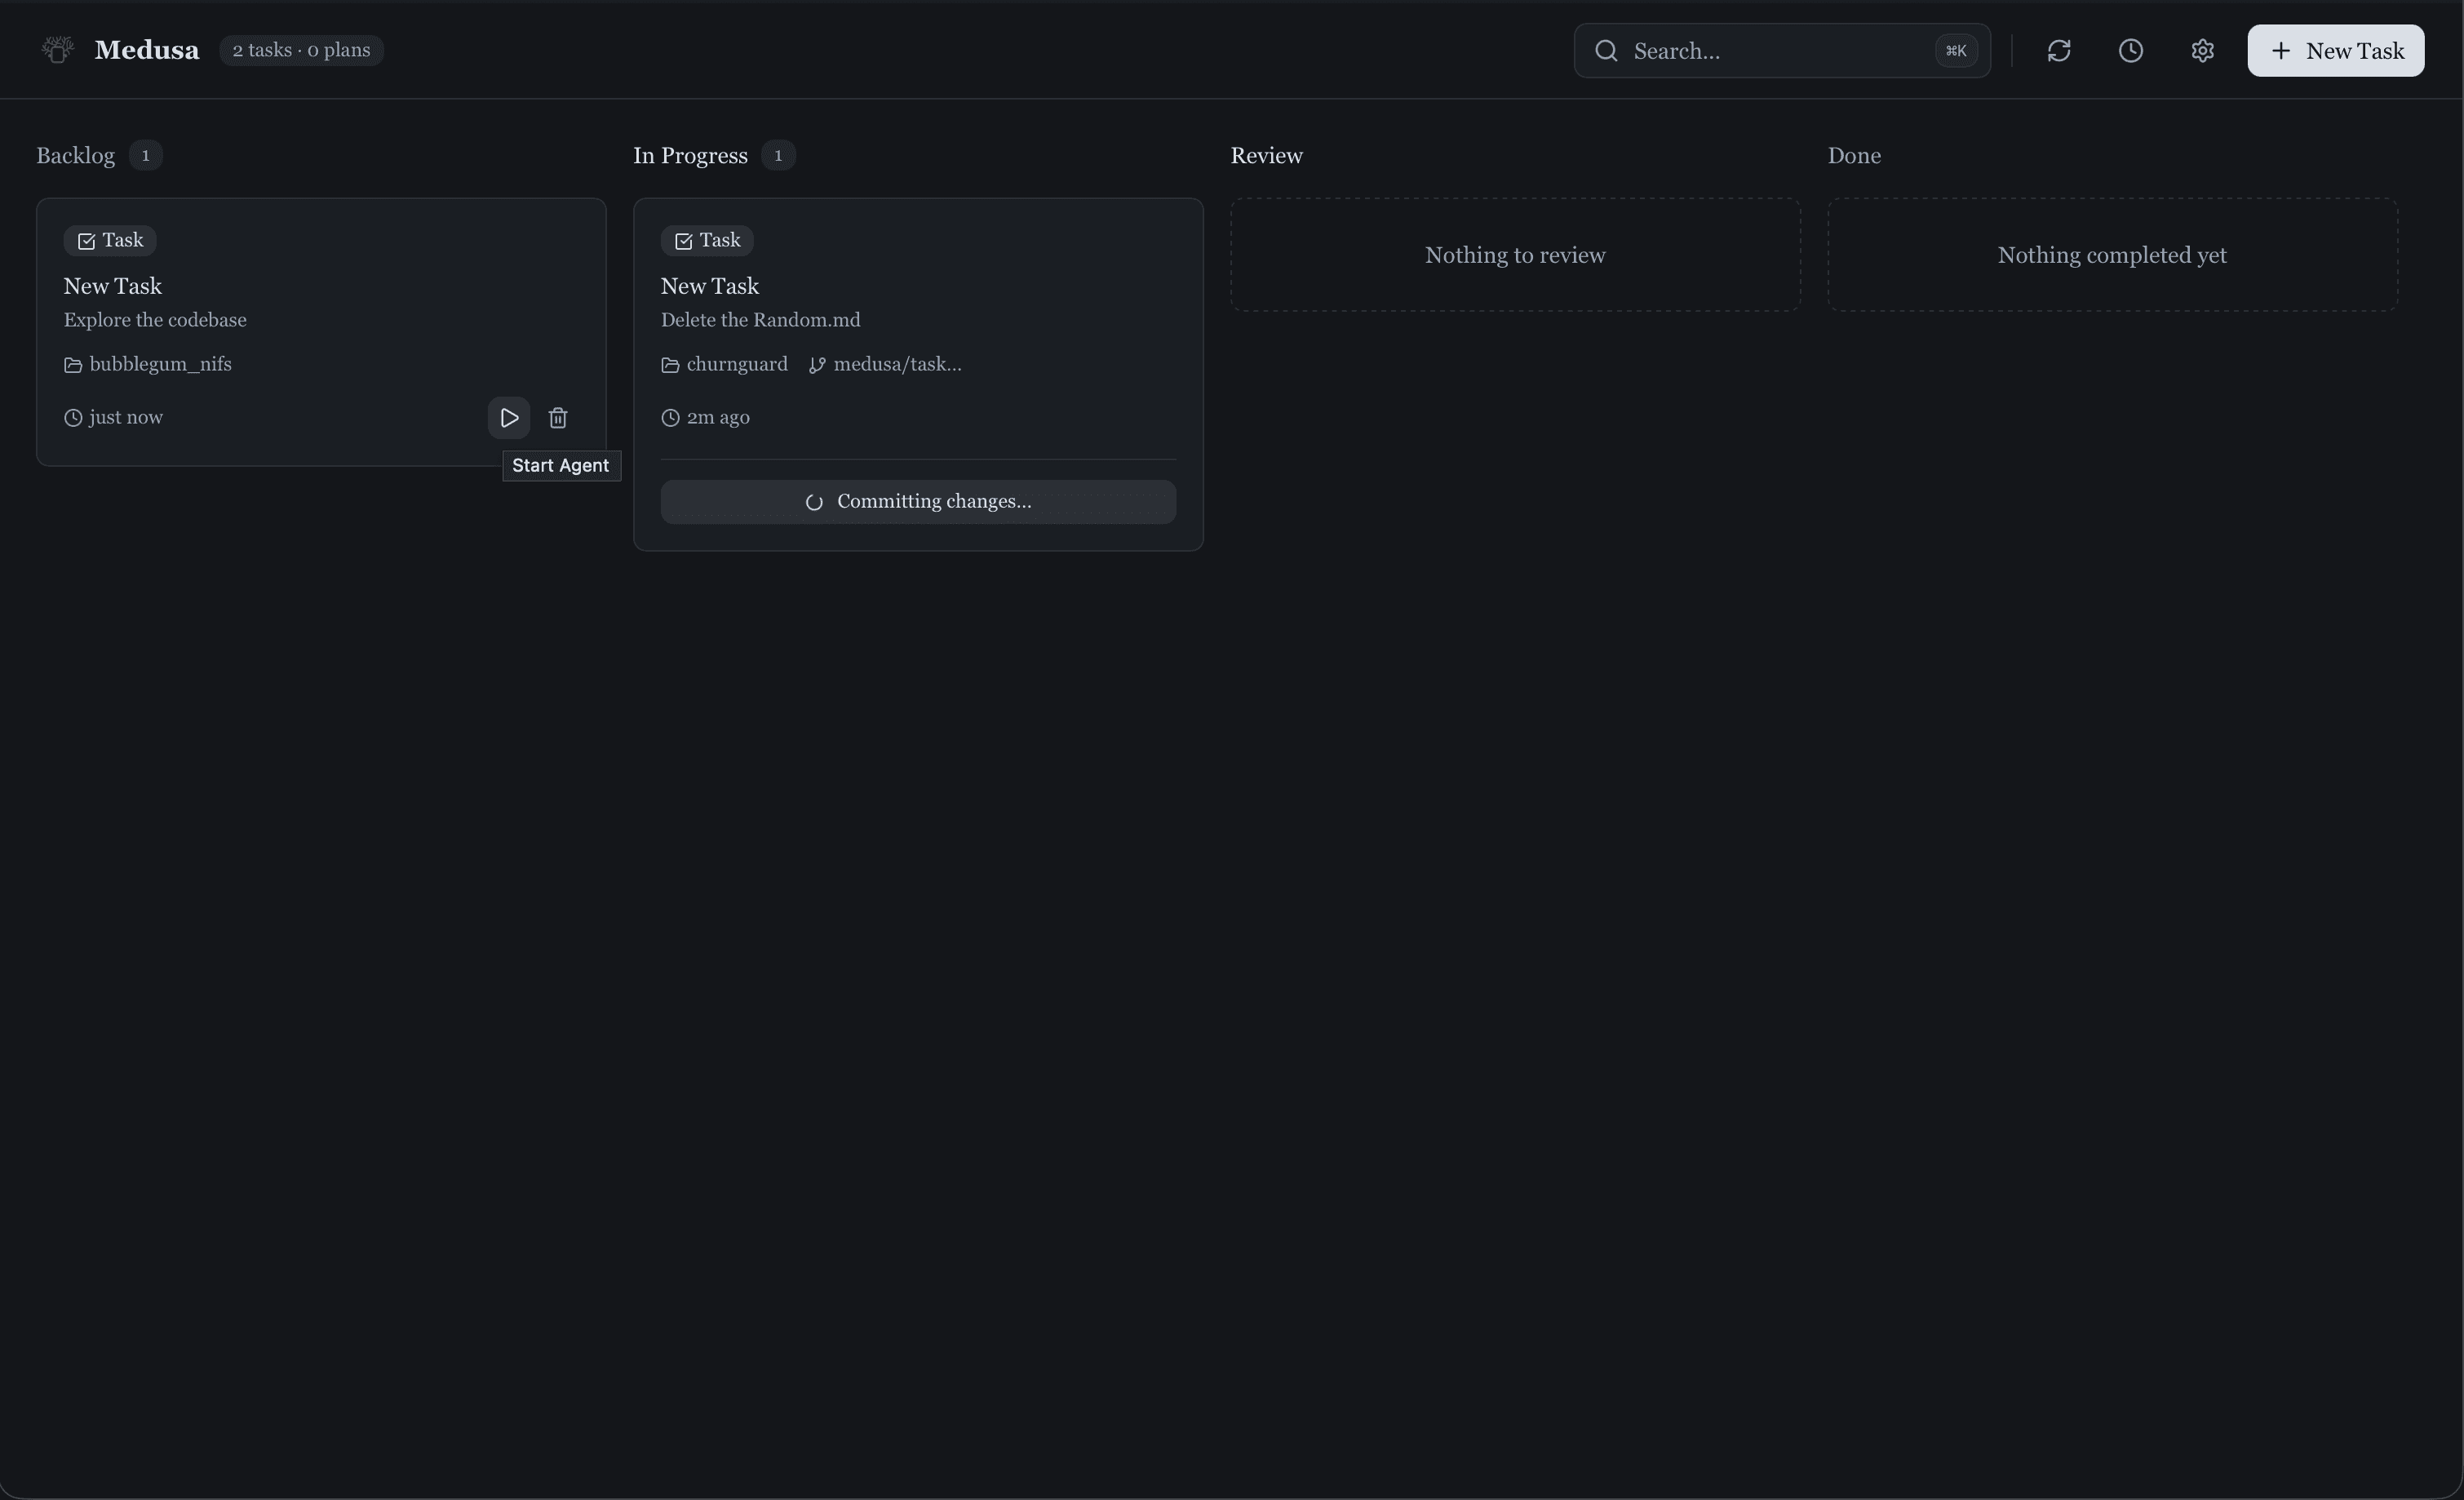
The unified board
Plans and tasks live together in one unified kanban board. See what's pending, what agents are running, and what's ready for review—all at a glance.
Backlog
Tasks waiting to start
In Progress
Running agents & plans being revised
Review
Ready for your review
Done
Completed & approved
Click any plan card to open it for review. Plans are automatically moved between columns as you interact with them.
Viewing diffs
When you request changes and Claude revises the plan, Medusa shows you exactly what changed. The diff view highlights additions, deletions, and modifications.
Pro tip
Use the diff view to verify Claude addressed your feedback. If something was missed, you can add more annotations and request another revision.
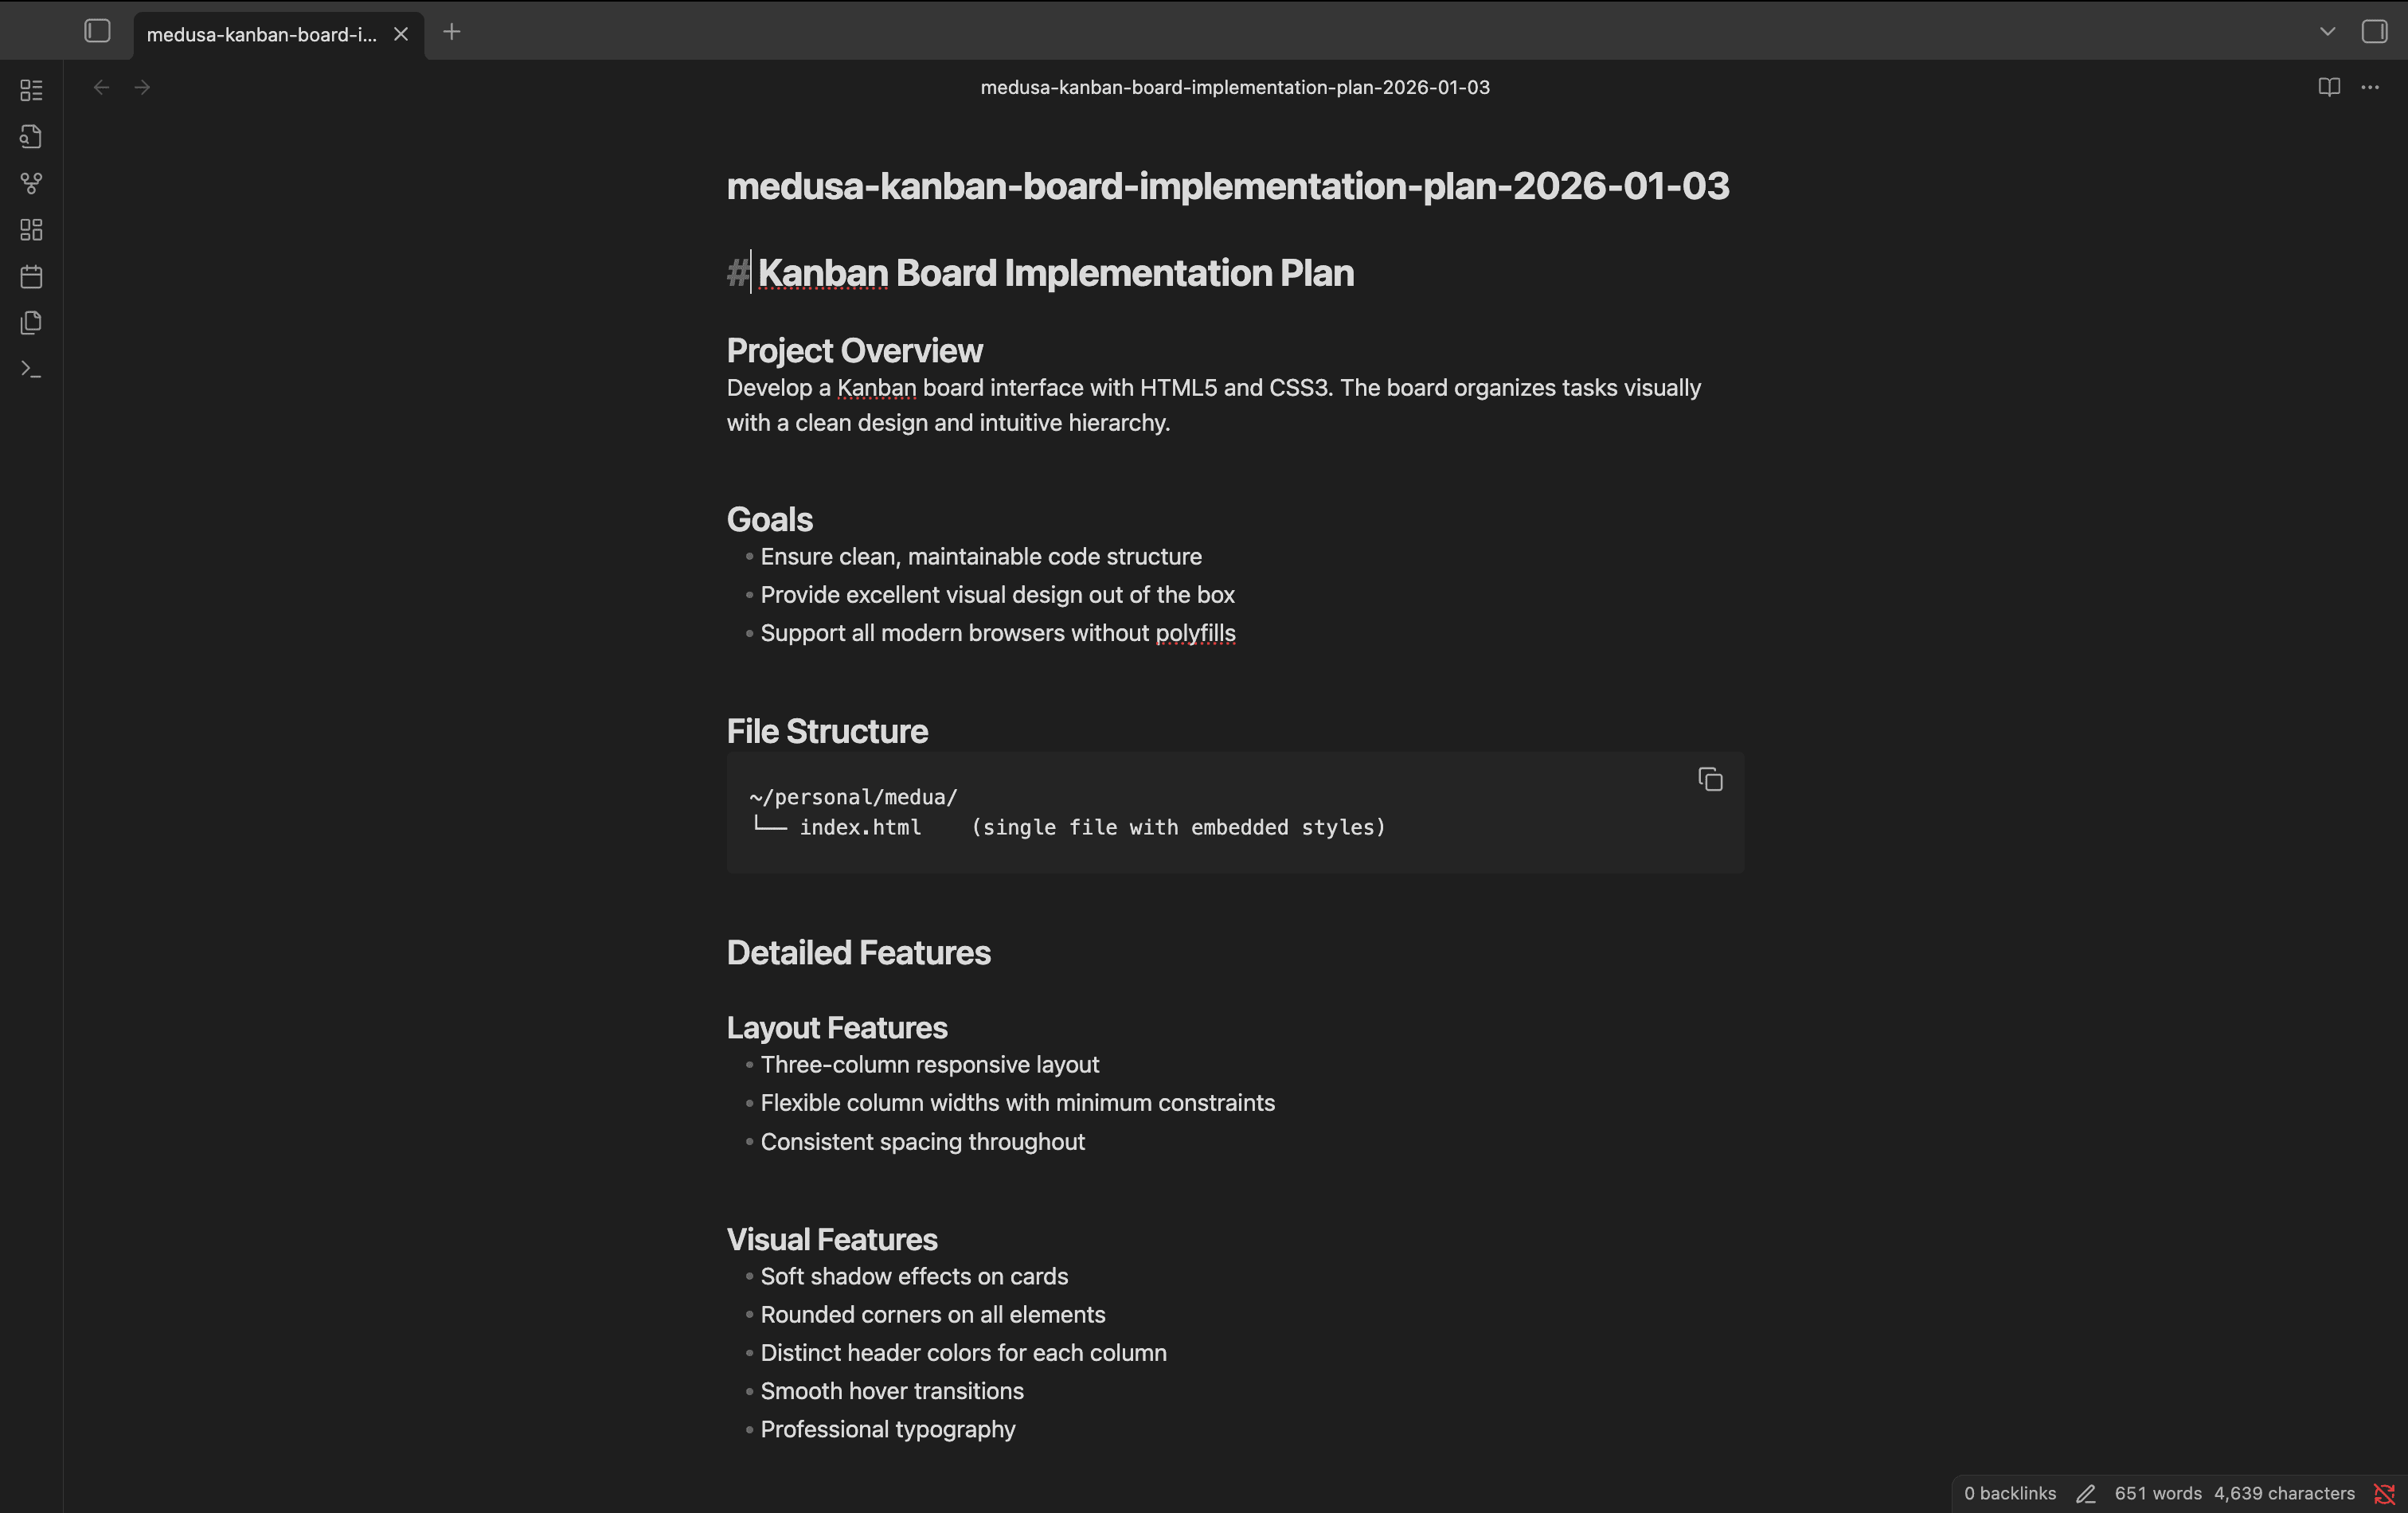
Exporting to Obsidian
Build a knowledge base of your implementation decisions. Export any approved plan to your Obsidian vault with one click.
Setting up Obsidian export
- Open Medusa Settings
- Navigate to the Obsidian section
- Set your vault path (the folder where your Obsidian vault lives)
- Optionally configure a subfolder for plans
Exporting a plan
After approving a plan, click the "Save to Obsidian" button. The plan will be saved as a markdown file with metadata including the date, session, and any annotations you made.
Configuration
Customize Medusa to fit your workflow. Access settings from the gear icon in the main interface.
Appearance
Switch between light, dark, and system themes.
Hook Configuration
View the paths needed for your Claude Code hook setup.
Obsidian Integration
Configure your vault path and export preferences.
Need help?
Found a bug or have a feature request? We'd love to hear from you.
Open an issue on GitHub